


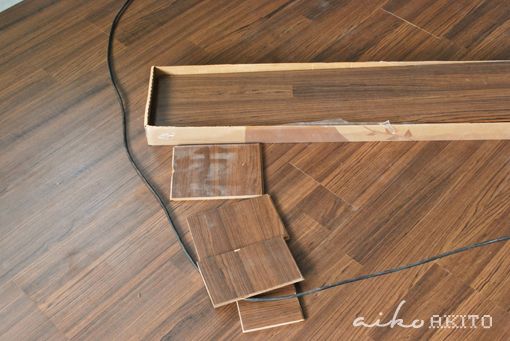
We have stacks of laminated flooring sitting in our ‘cellar’ (underground level) for quite some time. Out of the blue, during last Raya holidays, the boss took them out and arranged as well as made some measurement one night and they were placed on the coffee table the following morning. In fact it was an impromptu decision despite we have once been talking about it prior moving into our house. But, due to time constraint, we just have our renovation workers to add timber coatings to the existing flooring which was completed just in time for our wedding. Unfortunately, the shade turned out a little too rich. We weren't very happy with the ‘overdosed’ timber finishes on our existing parquet flooring in the living room as it has made the room a little too dark and dust prone, not to mention it was very slippery (read: dangerous) to walk on during the first few months.
Recently, the boss intended to get it prepared before our little one arrives, with the initial intention to convert the living as my confinement 'nest' just in case I couldn't walk up the stairs after Cesarean. Besides, I could spend some quality time watching Korean drama while nursing (he said). He even loaned a few series of Korean drama from his colleagues weeks ahead my due date.
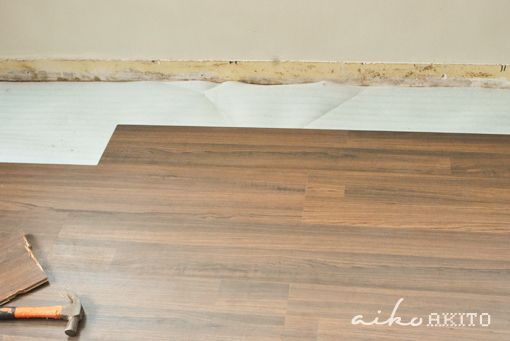
Hence, the boss decided to take two days off from work after Raya holidays. Early in the morning, he started to lay the waterproof membrane and gradually assemble the laminated flooring tiles on top of the existing parquet flooring all by his own. Few hours later, the boss’ paternal uncle sent over one of his worker to give us a hand to hack off the timber skirting and to help jig-sawing the tiles according to the measurement marked earlier on. Tiles laying itself were completed within two mornings.
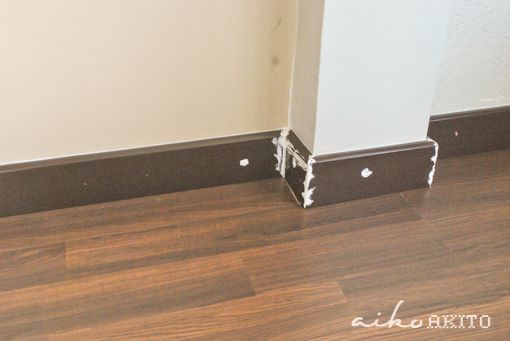
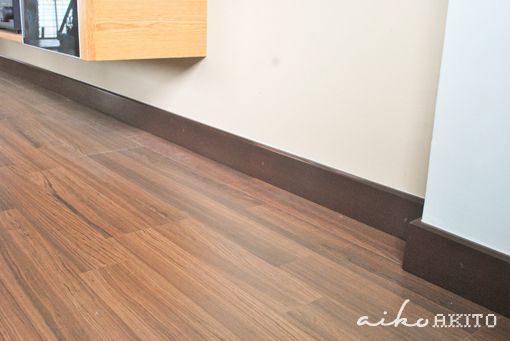
The missing part of the jigsaw was the timber skirting. The new skirting were delivered and fixed the following weekend. And after fixing the timber skirting, here’s how our laminated flooring currently look like.


0 comments:
Post a Comment